After my last attempt creating something with parachute cord, I decided to try making a key fob using a snake knot and two different colors of para cord.
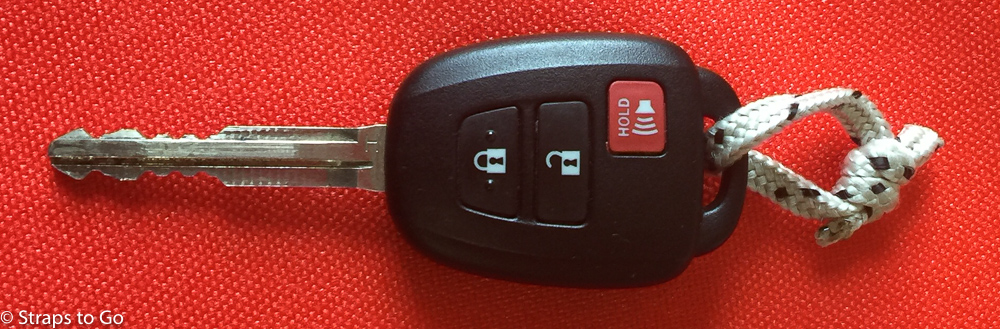
My current fob was just a piece of cord tied together, nothing really fancy.
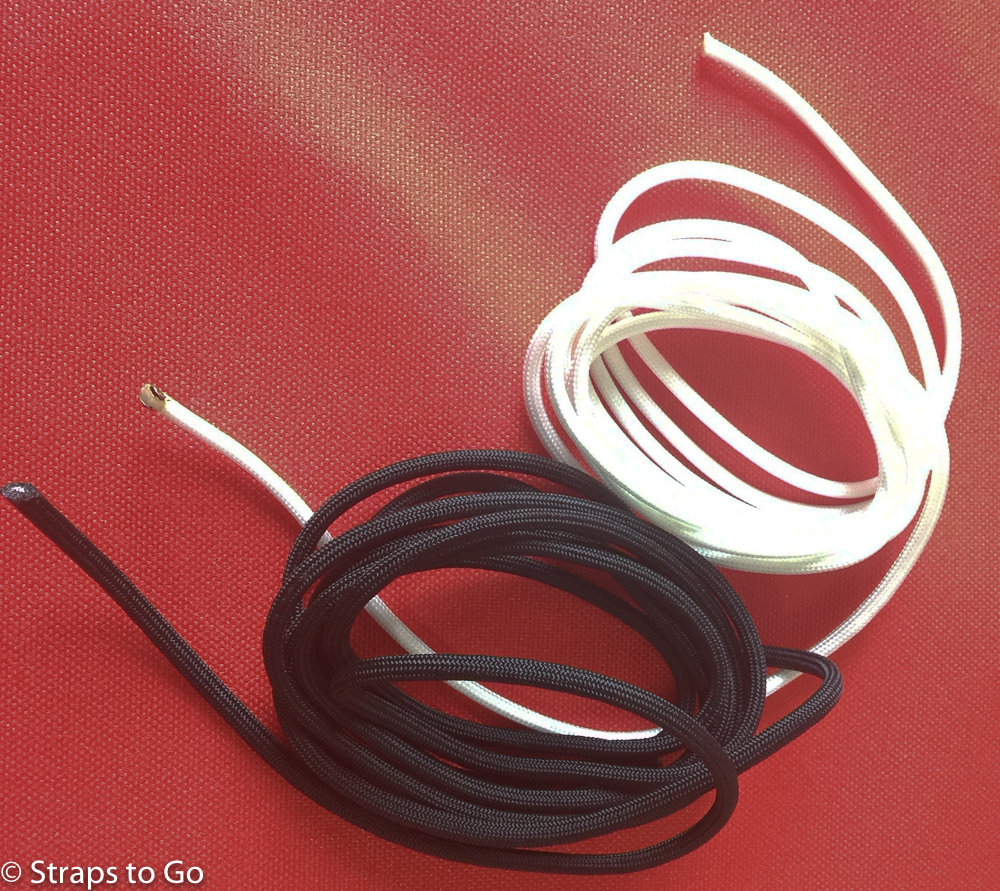
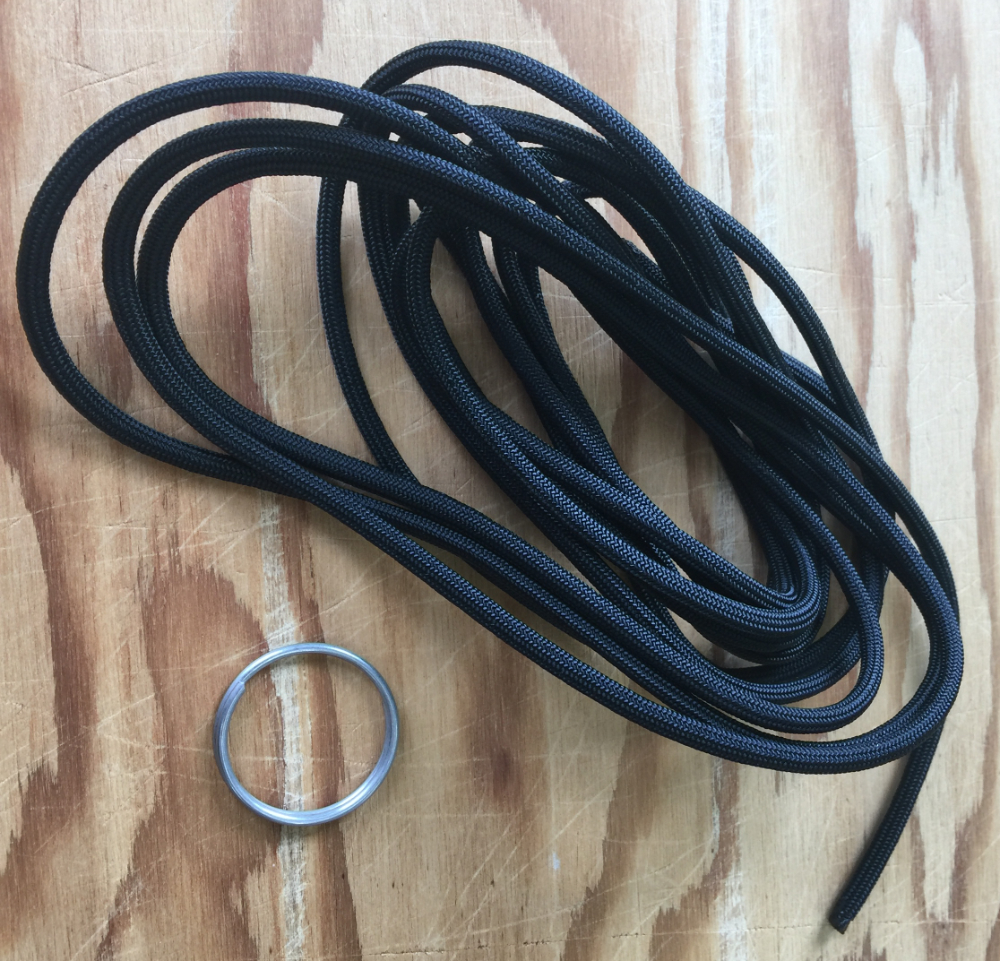
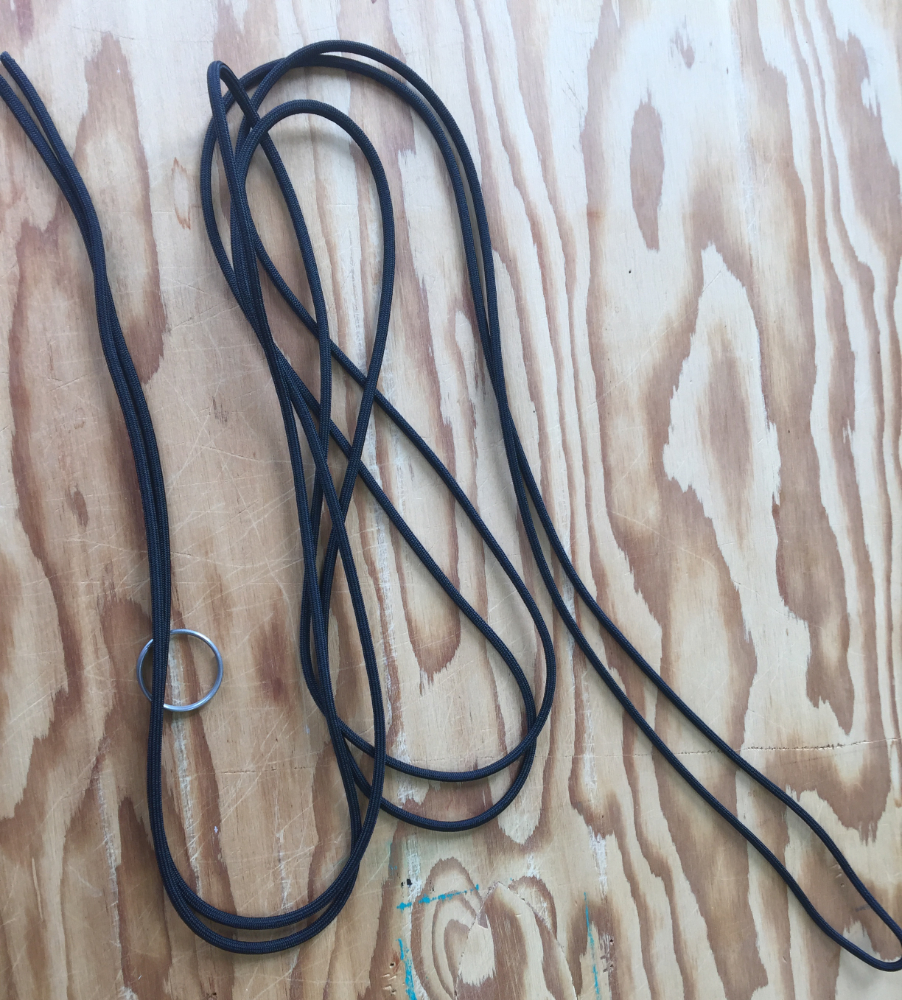
End cuts of black and white para cord were lying around so they would be the materials of choice. The first, and what turned out to be the hardest, part of the project was joining the two pieces.
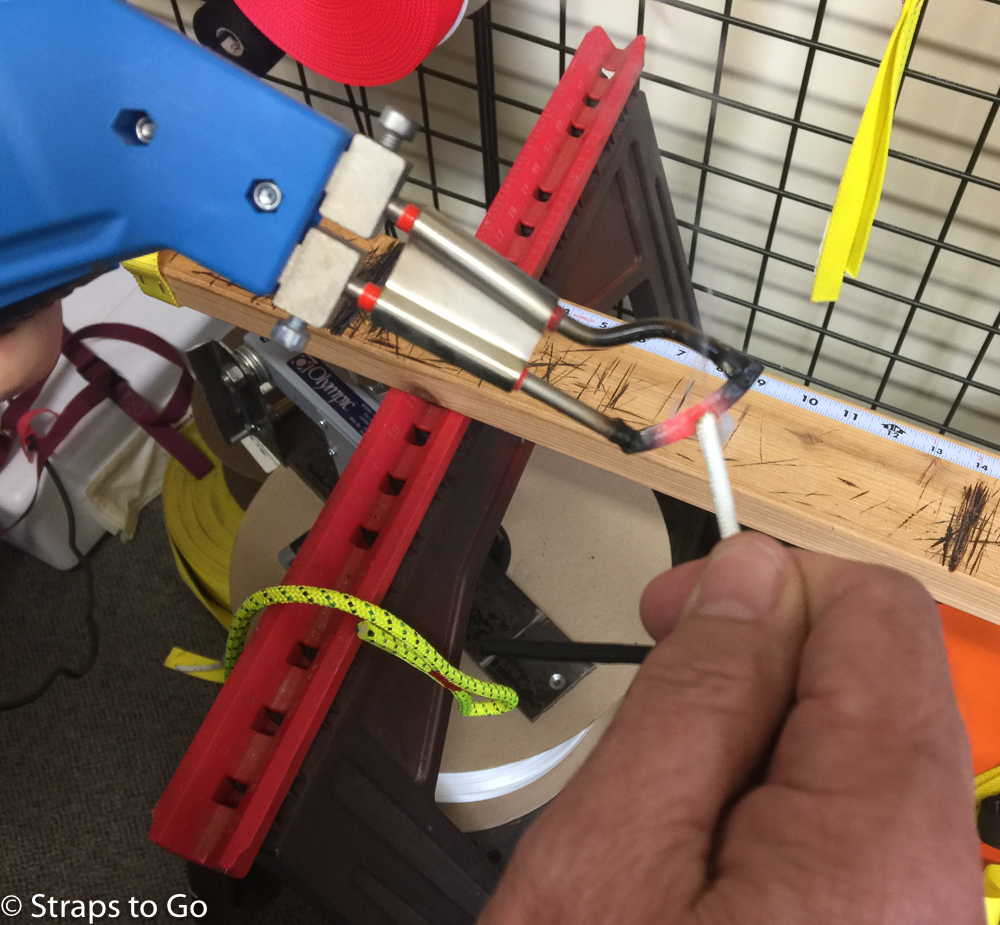
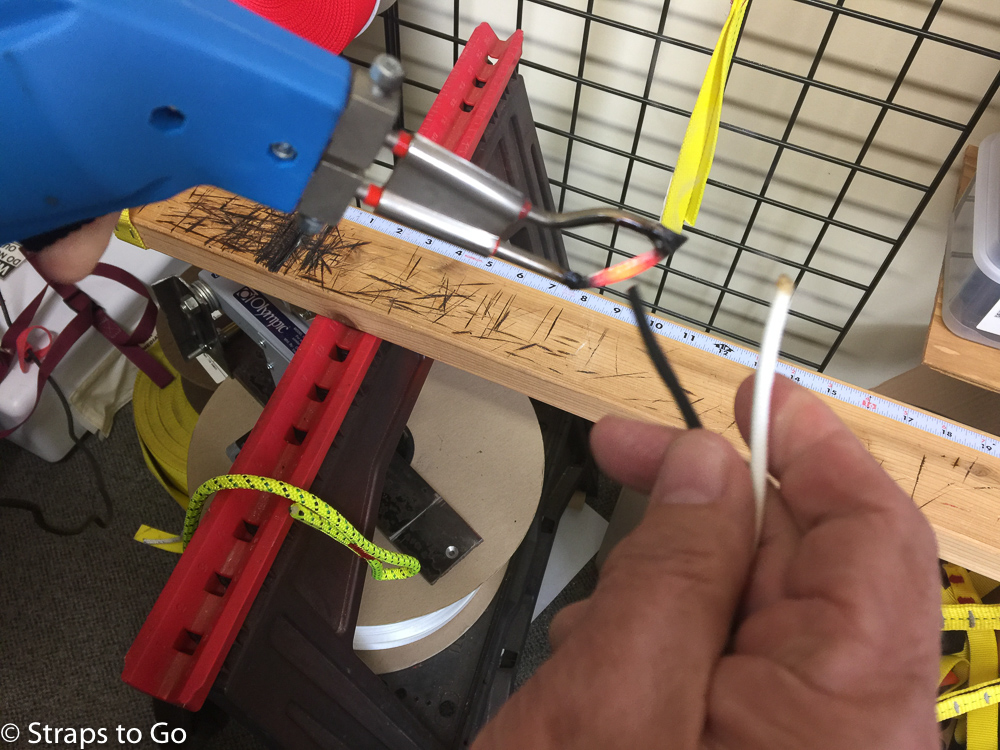
Here I am heating and melting the end of the white cord.
Then quickly heating the black. If we weren’t trying to take pictures doing both at the same time would make this much easier.
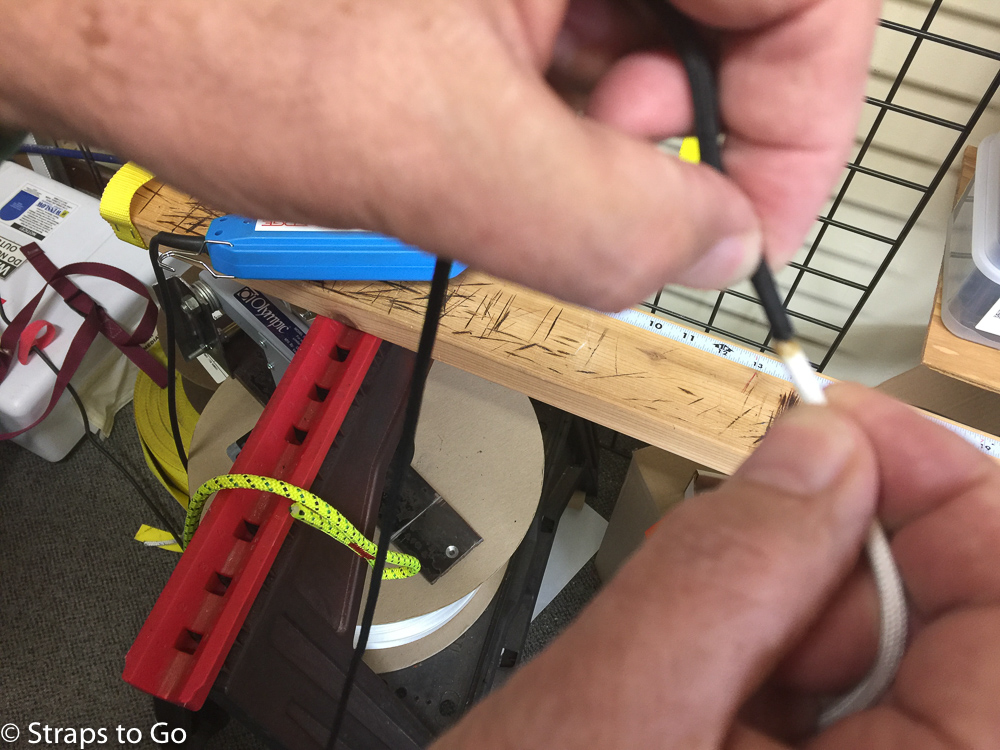
Then stick the two melted ends together (while they are still melted) and push them together. You can wet your fingers and squeeze the joint to get it a bit smaller but be careful, the molten material will be hot! Now that the hardest part of the project has been completed, we can start making snake knots.
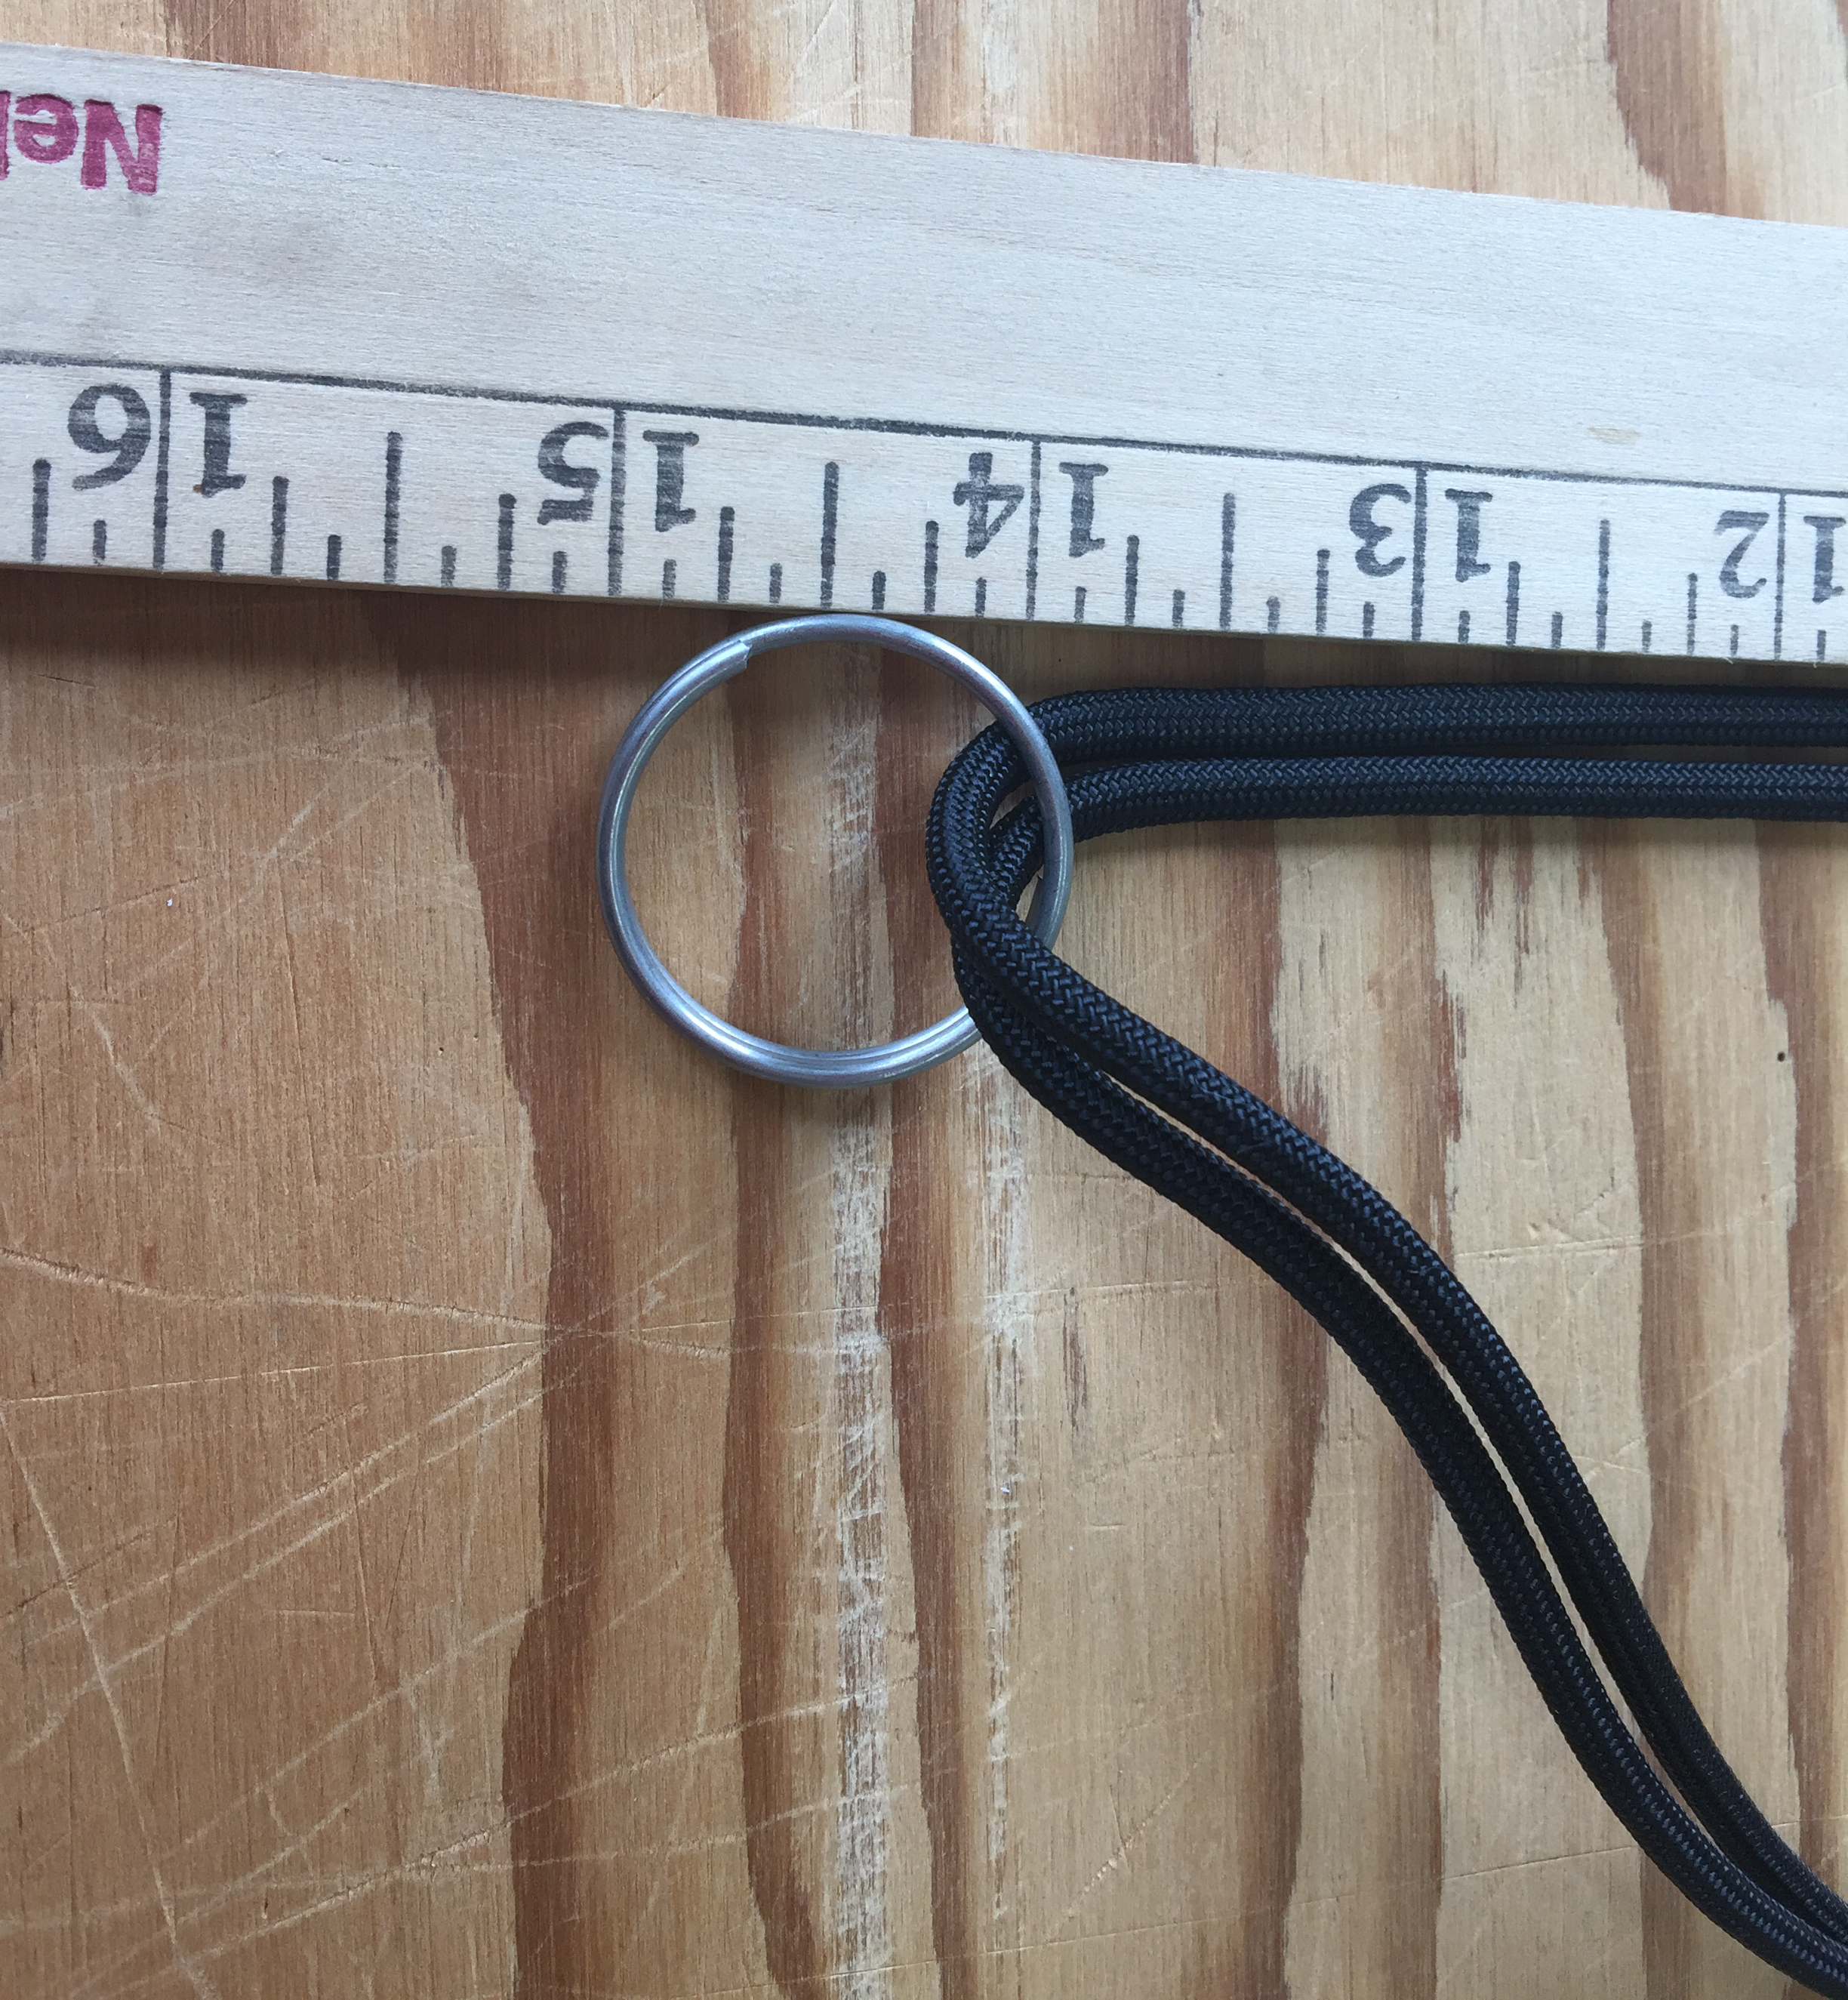
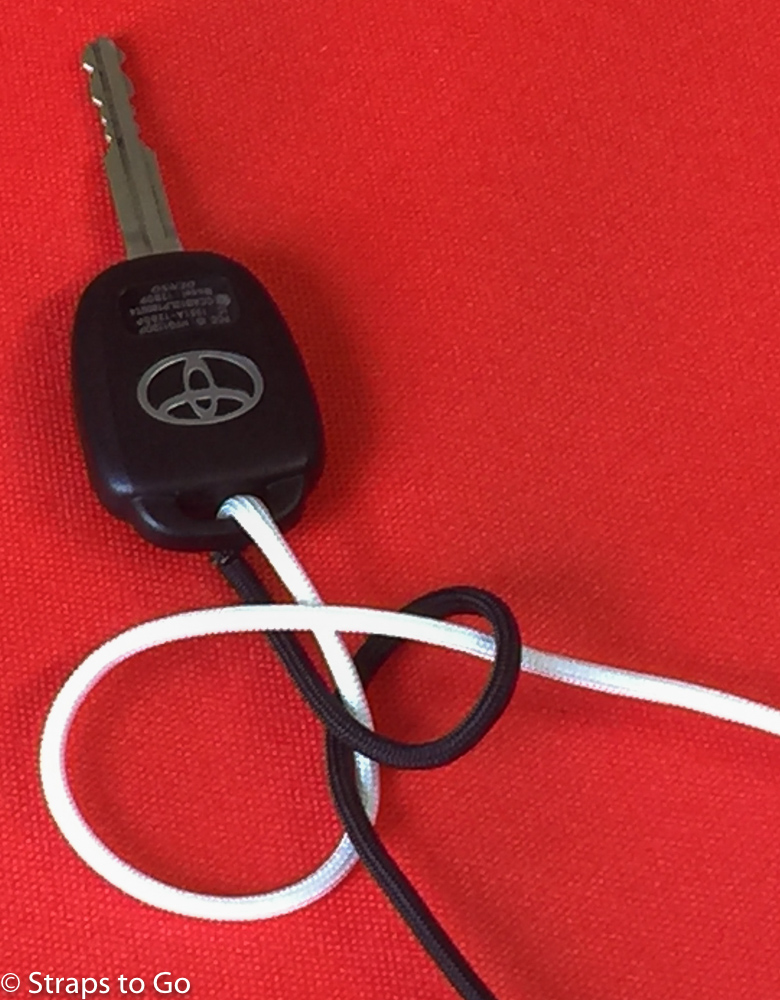
Put the cord through the slot on the key.
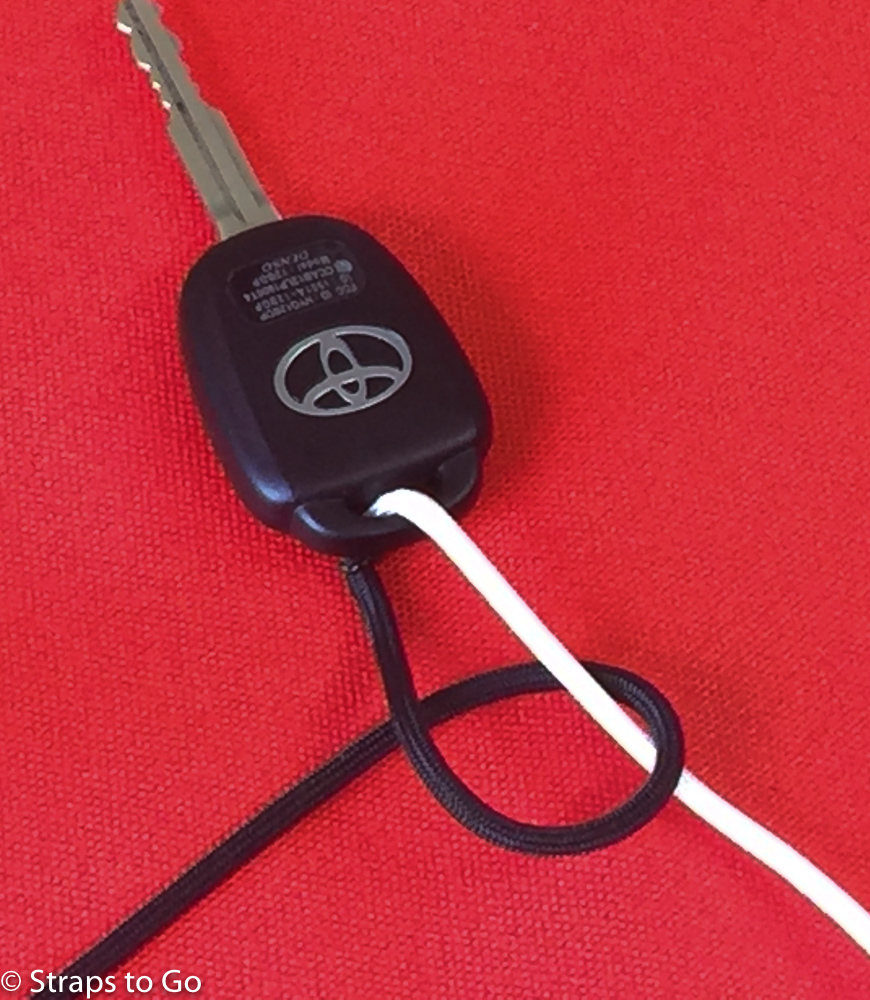
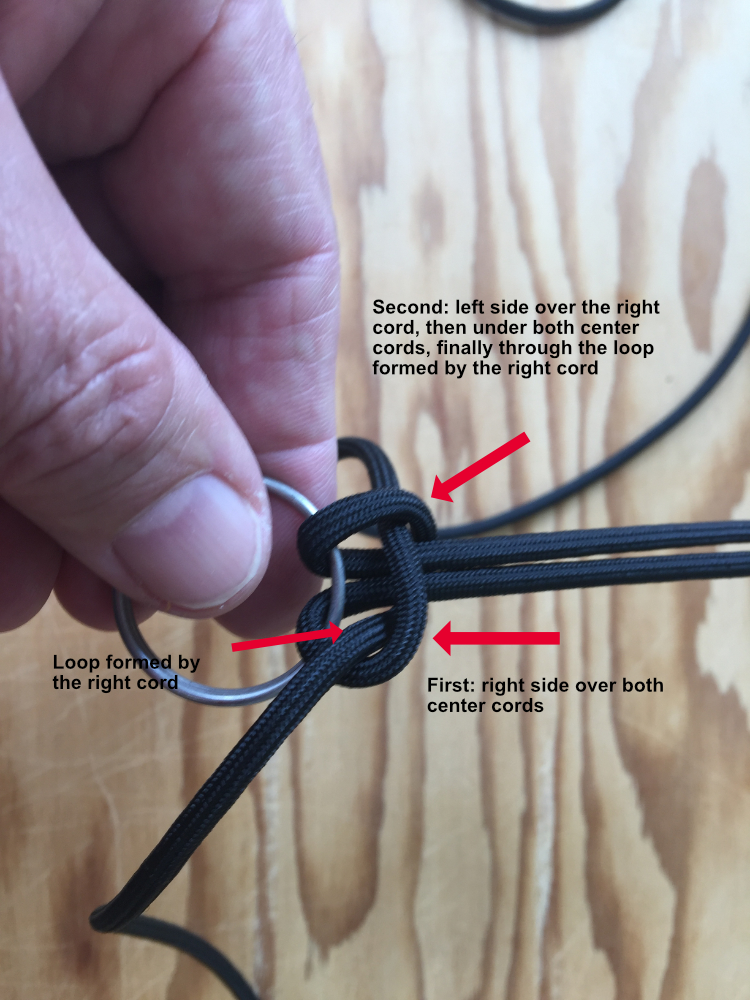
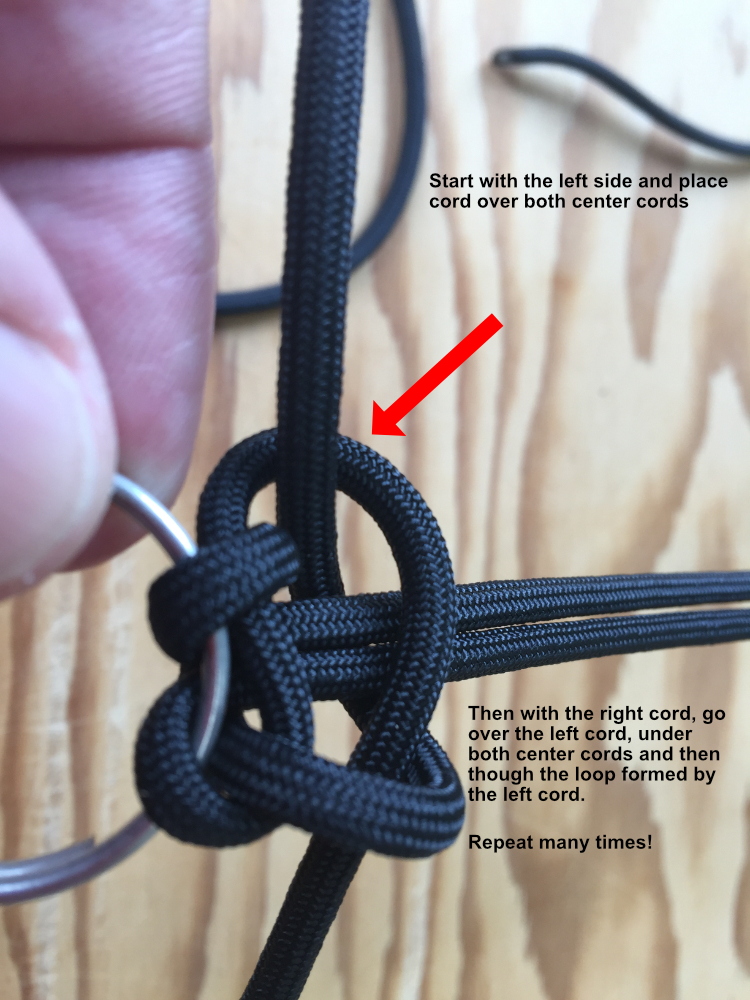
Notice how the black cord is on the left. When you start each knot, the cords will be in the same locations, black on left, white on right. Take the black cord and go over and around the white cord, then back under the black.
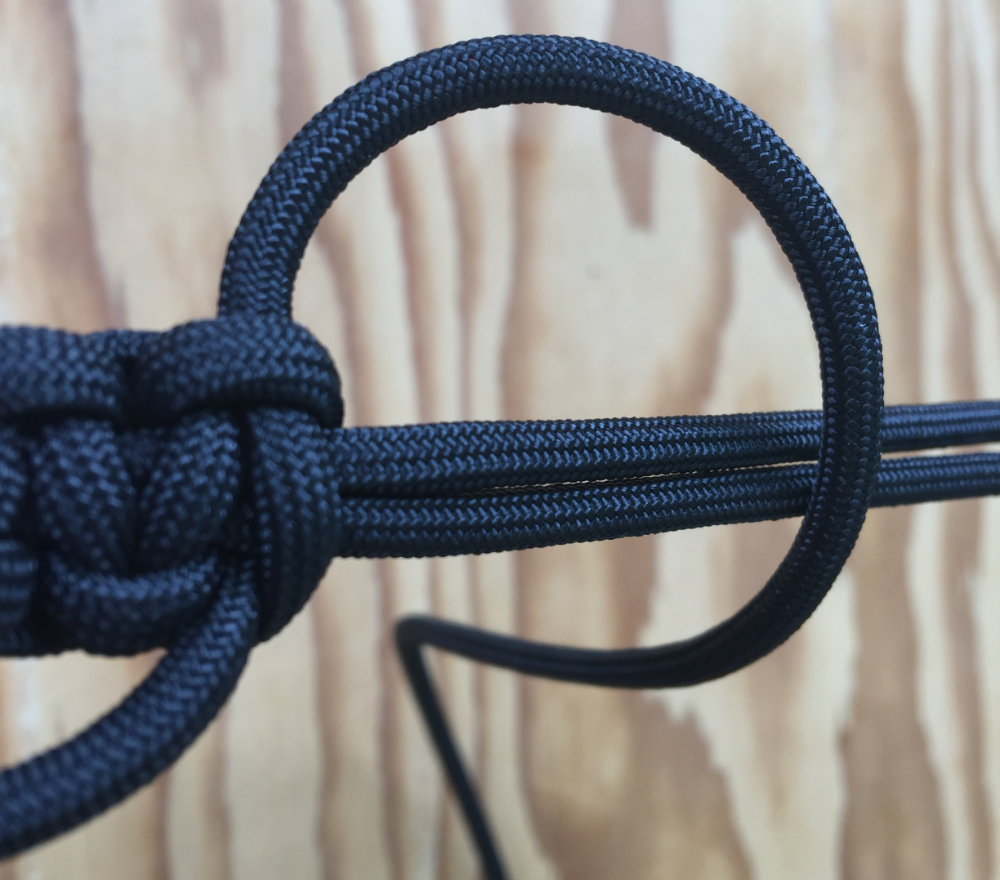
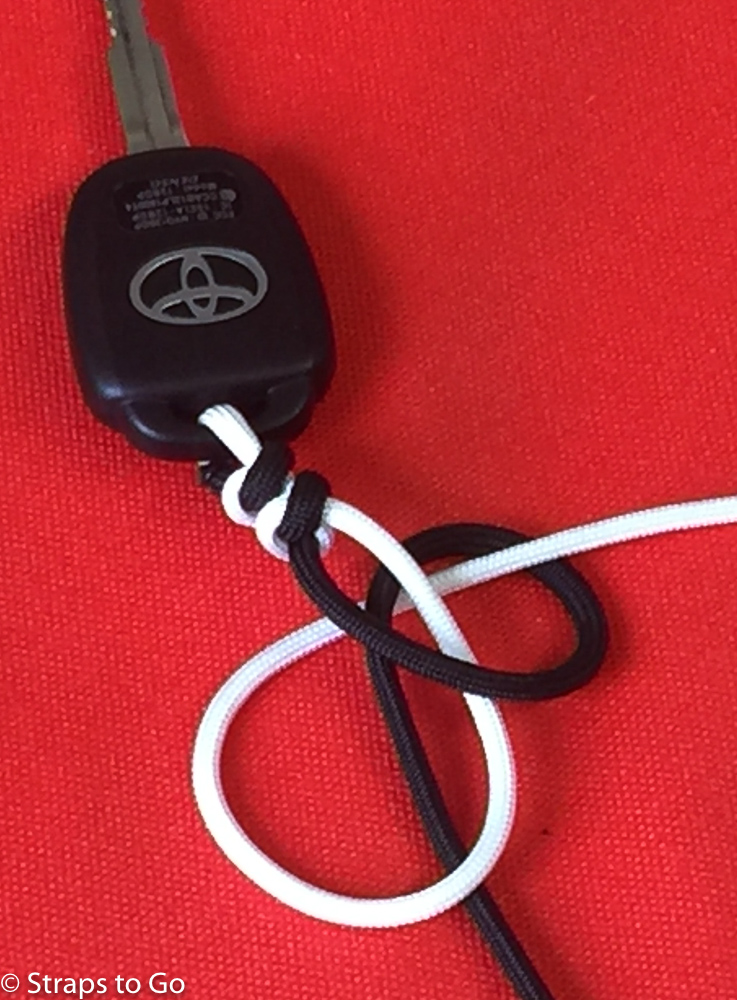
Now take the white cord and go under the black, then over and through the hole created by the black cord. Tighten everything up and one knot has been completed.
One thing I learned is to keep the tension on the knots as you tighten them consistent. That will keep everything looking nice and even when you finish.
Keep up the same routine. Black cord: over then under. White cord: under then over.
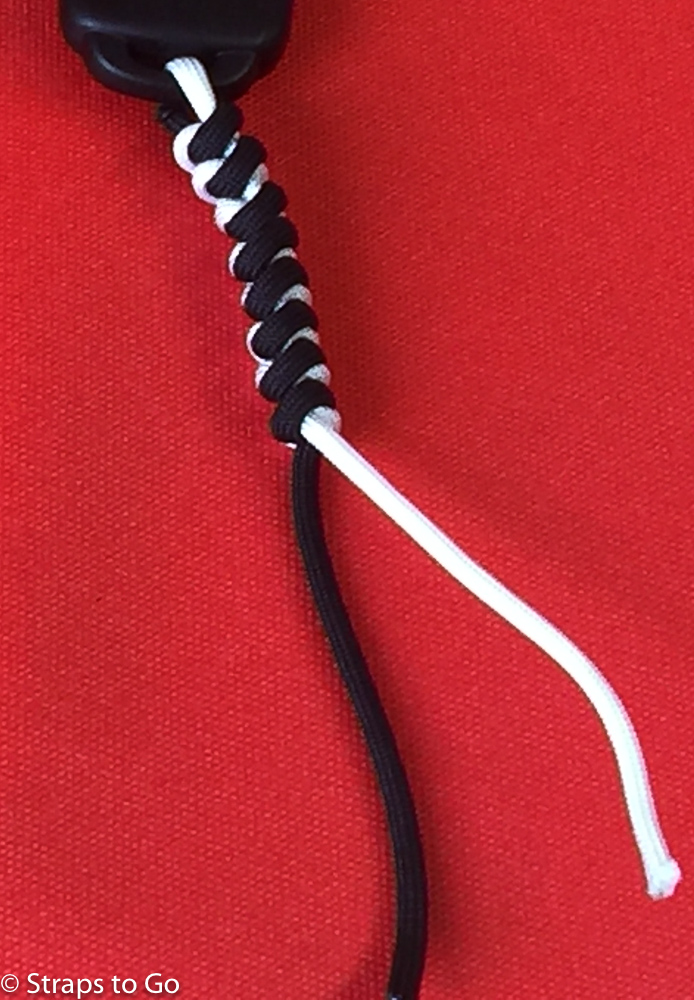
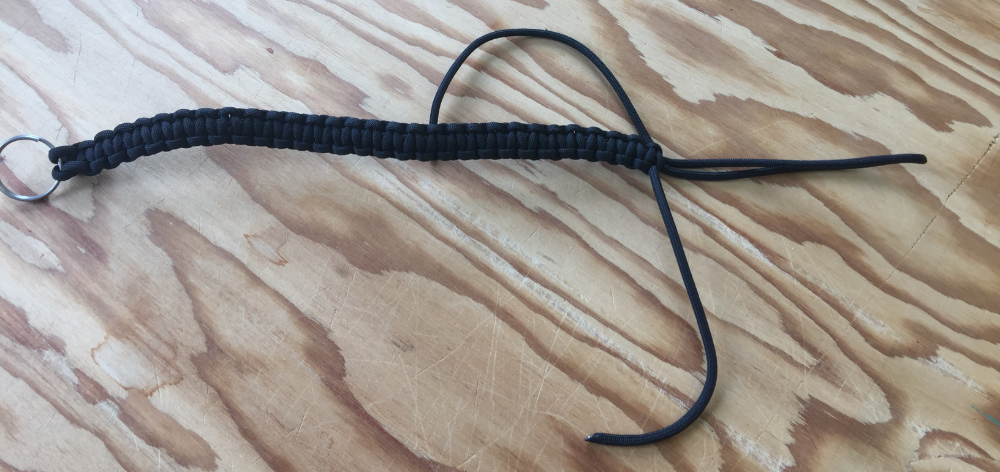
Quickly you will see your fob taking shape. This is really a simple knot and using two colors of para cord makes it even easier.
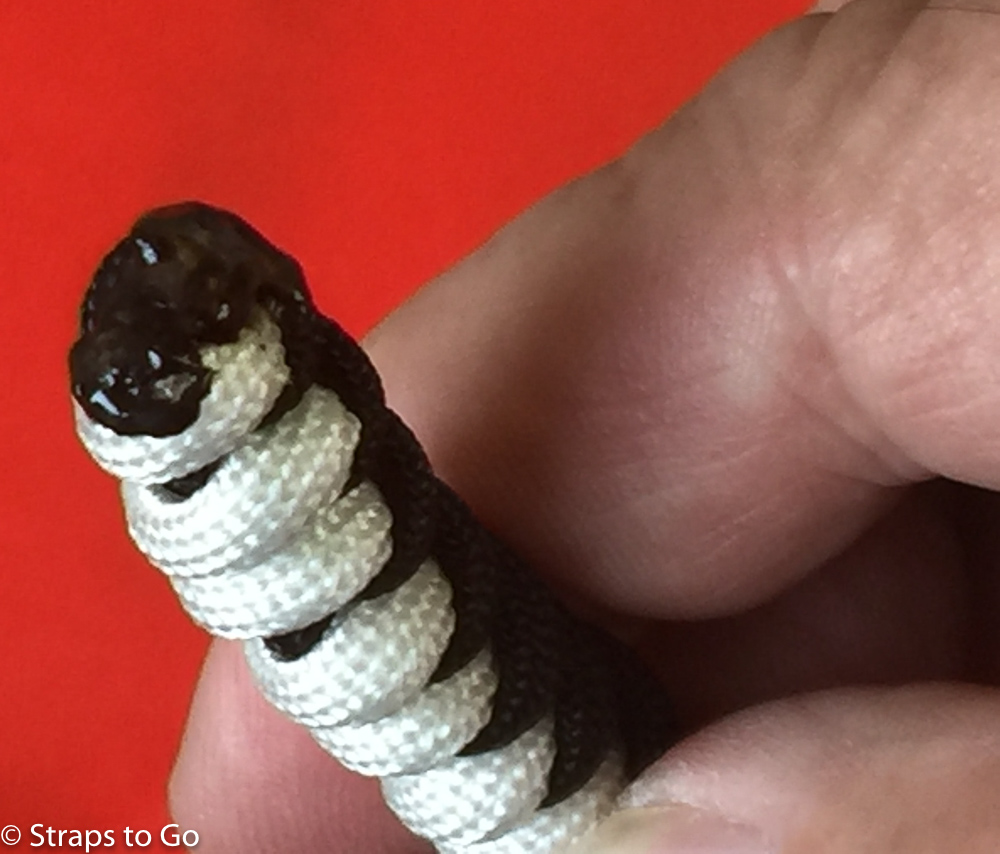
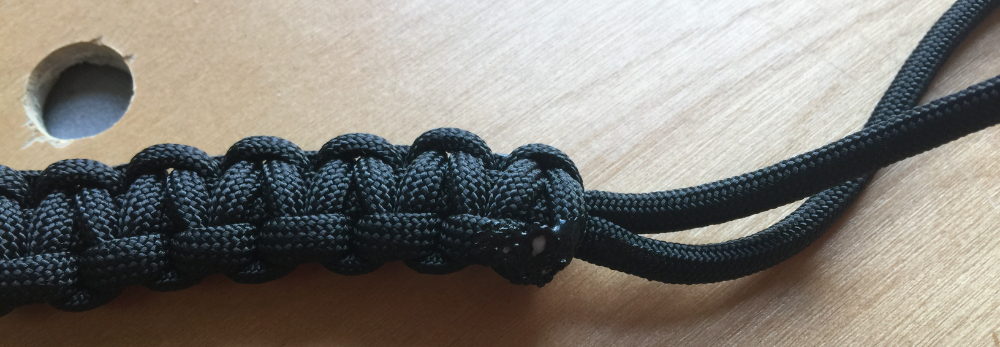
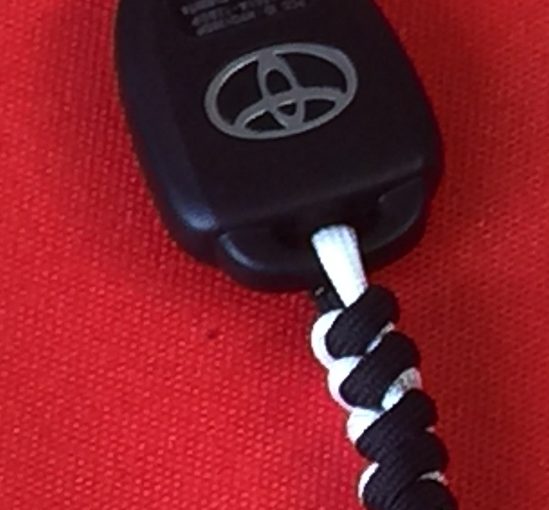
I just used my hot knife to seal the ends of the cord so everything would not come undone.
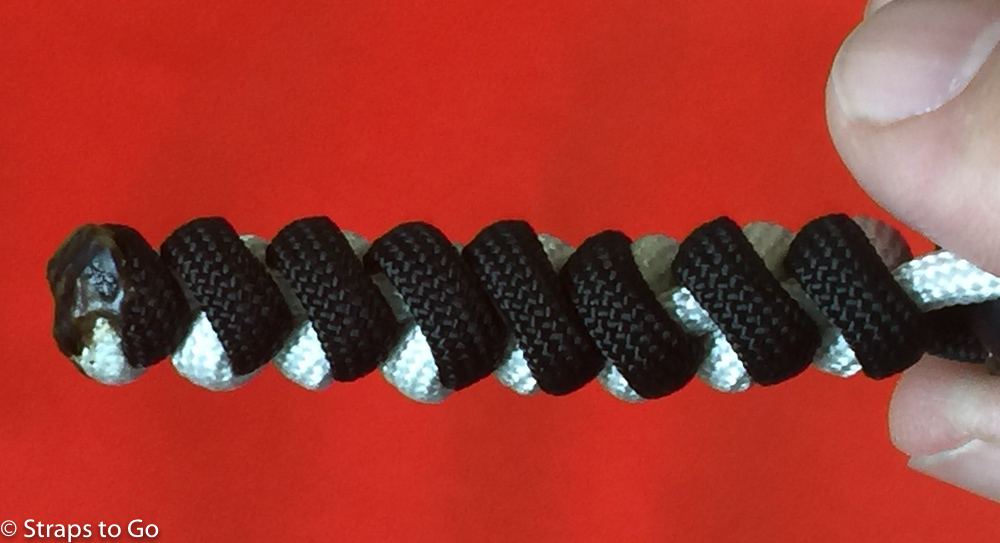
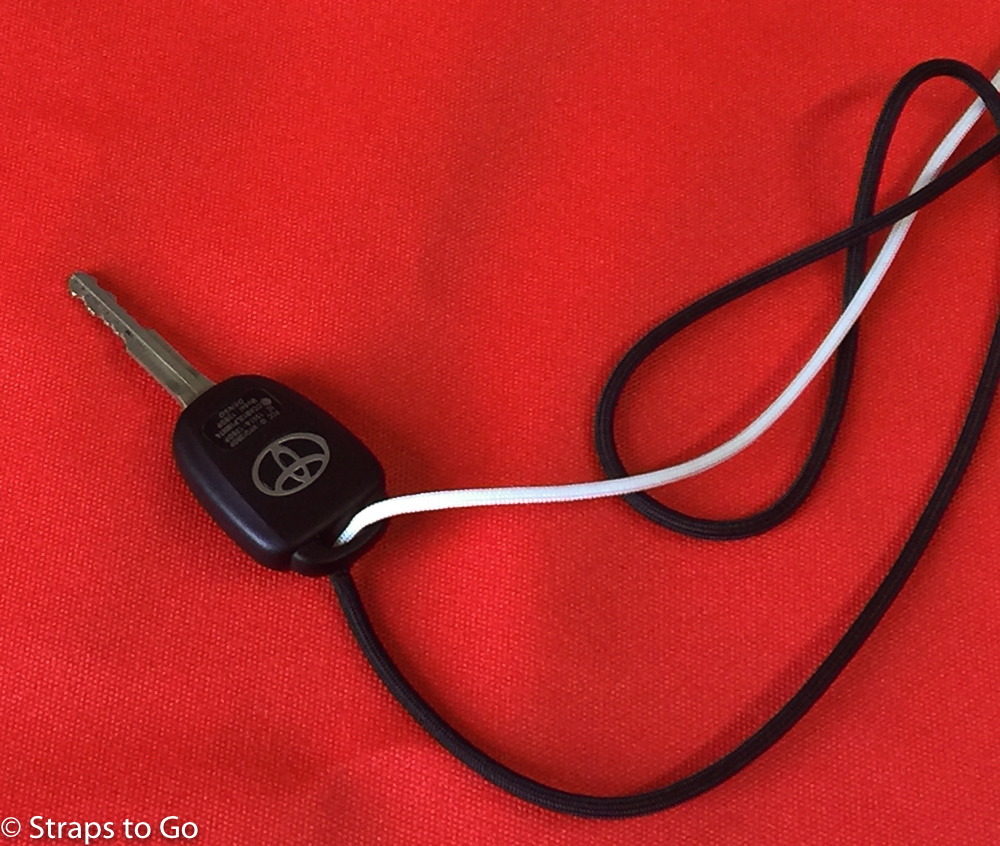
Which gave me a key fob that looks like this. You can see that I was not really great at keeping the tension on the knots consistent, next time I will do a better job.